This page is part of our buying guides for 3D rendering. Each section below explains one item of the brief and shows a filled-in example, and the template at the end has one field for each, ready to copy.
What goes in a 3D rendering brief?
A complete brief covers eight items: project summary, purpose and audience, files, materials, camera views, lighting and mood, output, and schedule. Missing items do not stop a studio from quoting; they turn into guesses, and guesses turn into revision rounds.
- Project summary. What the building, room or product is, and where.
- Purpose and audience. Who will see the images and what they must decide.
- Files. Plans, elevations and sections, or the 3D model.
- Materials and finishes. Each surface with its product name or code.
- Camera views. How many views, marked on a plan, and what each must show.
- Lighting and mood. Time of day, season, weather and one reference image.
- Output. Pixel or print size, aspect ratio and file format for each image.
- Schedule. The final deadline, who approves, and how many review rounds.
A brief also makes choosing a 3D rendering company easier, because quotes from different studios become comparable when every studio quotes from the same eight answers.
Project summary and purpose
State what the project is, who will see the images and what they must decide, because the purpose sets the level of detail. A planning image must match the drawings to the brick course; a sales image must also look inviting at billboard size; a design-review image only needs massing and light. The same building needs a different level of detail in each case.
A filled-in example. "A four-bedroom single-family house on a sloping lot, two stories over a walk-out basement. The images go to the homeowners for sign-off of the exterior materials before the building permit, and then onto the architect's website. They must decide between a cedar and a fiber-cement cladding." Three sentences, and the studio knows the subject, the audience, the decision and the level of accuracy.
Files to send
Send plans, elevations and sections, or the 3D model, in formats the studio can open. A native model saves the most time, because the studio renders the geometry you built instead of rebuilding it from drawings. Our guide to 3D file formats says which to send when you have a choice.
| File | Formats | What it gives the studio |
|---|---|---|
| Floor plans, sections, elevations | DWG files from AutoCAD, DXF, PDF | Dimensions, openings, levels; the usual source for plans |
| BIM model | Revit (RVT), Archicad (PLN), IFC | The whole building with levels and views, ready to render |
| 3D model | SketchUp (SKP), Rhino (3DM), 3ds Max (MAX), OBJ, FBX | Geometry to render directly |
| Product CAD | STEP, OBJ, FBX | Exact product geometry |
| Sketches | PDF, scans, photos | Design intent, if dimensions are written on |
| Site photos | JPG, from the camera positions you want | Context, and the backdrop for a photomontage |
Materials and finishes
List each surface with the product name or code, and attach swatches or a material board. "White tile" has a hundred answers; a product code has one. Where a finish has no code yet, a photo of the sample under daylight works.
| Surface | Product or code | Finish and notes |
|---|---|---|
| Floor | Porcelain tile, 24 x 48 in, warm gray stone look | Matte; laid in a half-offset pattern, long side across the room |
| Shower walls | Handmade zellige tile, 4 x 4 in, off-white | Glossy, uneven surface; white grout |
| Vanity | Rift-cut white oak, flat slab doors | Natural matte lacquer; integrated finger pulls |
| Vanity top | Honed quartzite, 3 cm | Eased edge; undermount basin |
| Fixtures | Brushed brass faucet, shower set and towel bars | Product links attached |
| Walls and ceiling | Paint, warm white | Eggshell on walls, flat on ceiling |
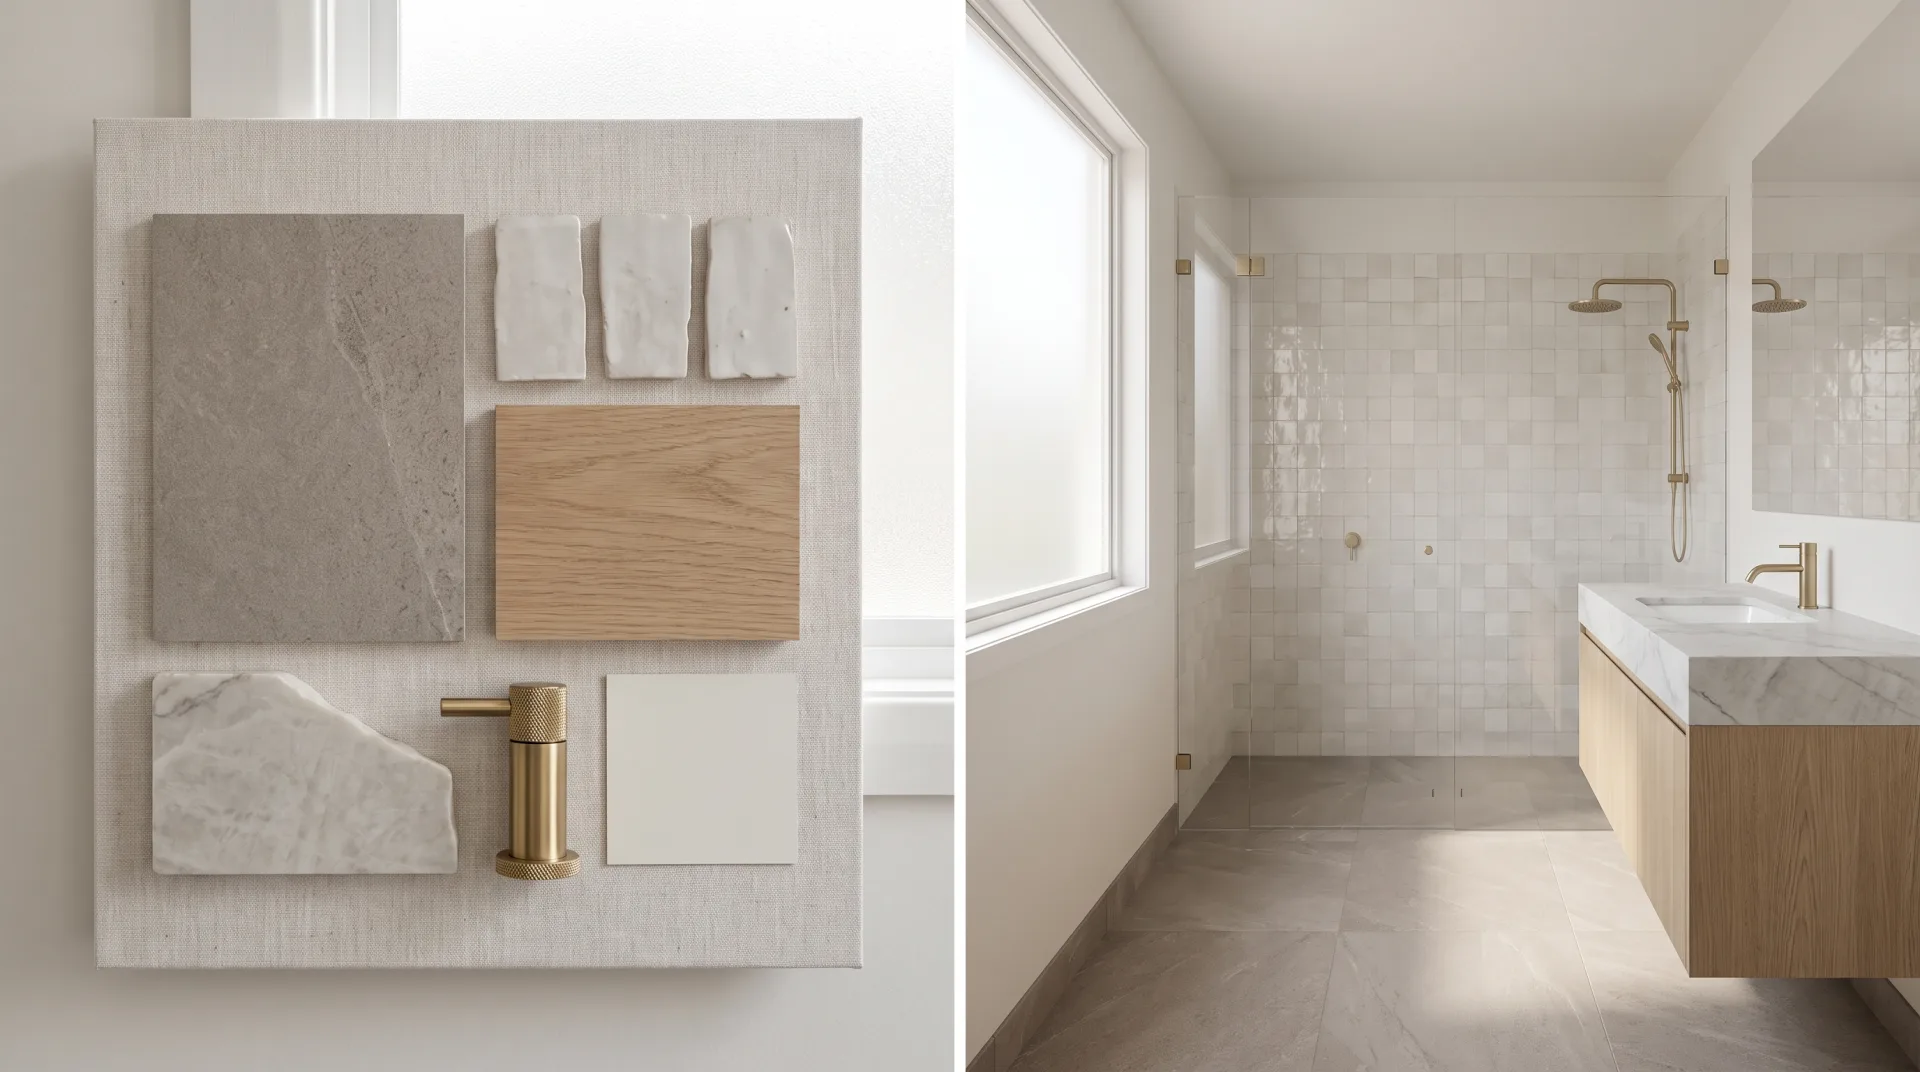
For interiors, an interior design mood board is a good start for this section, because it already groups the finishes and shows how they sit together.
Camera views
Mark each camera on a plan with an arrow and say what the view must show, so the composition is fixed before rendering. A camera arrow takes a minute to draw and saves a revision round, because the most common change on a first draft is "can we see more of the kitchen".
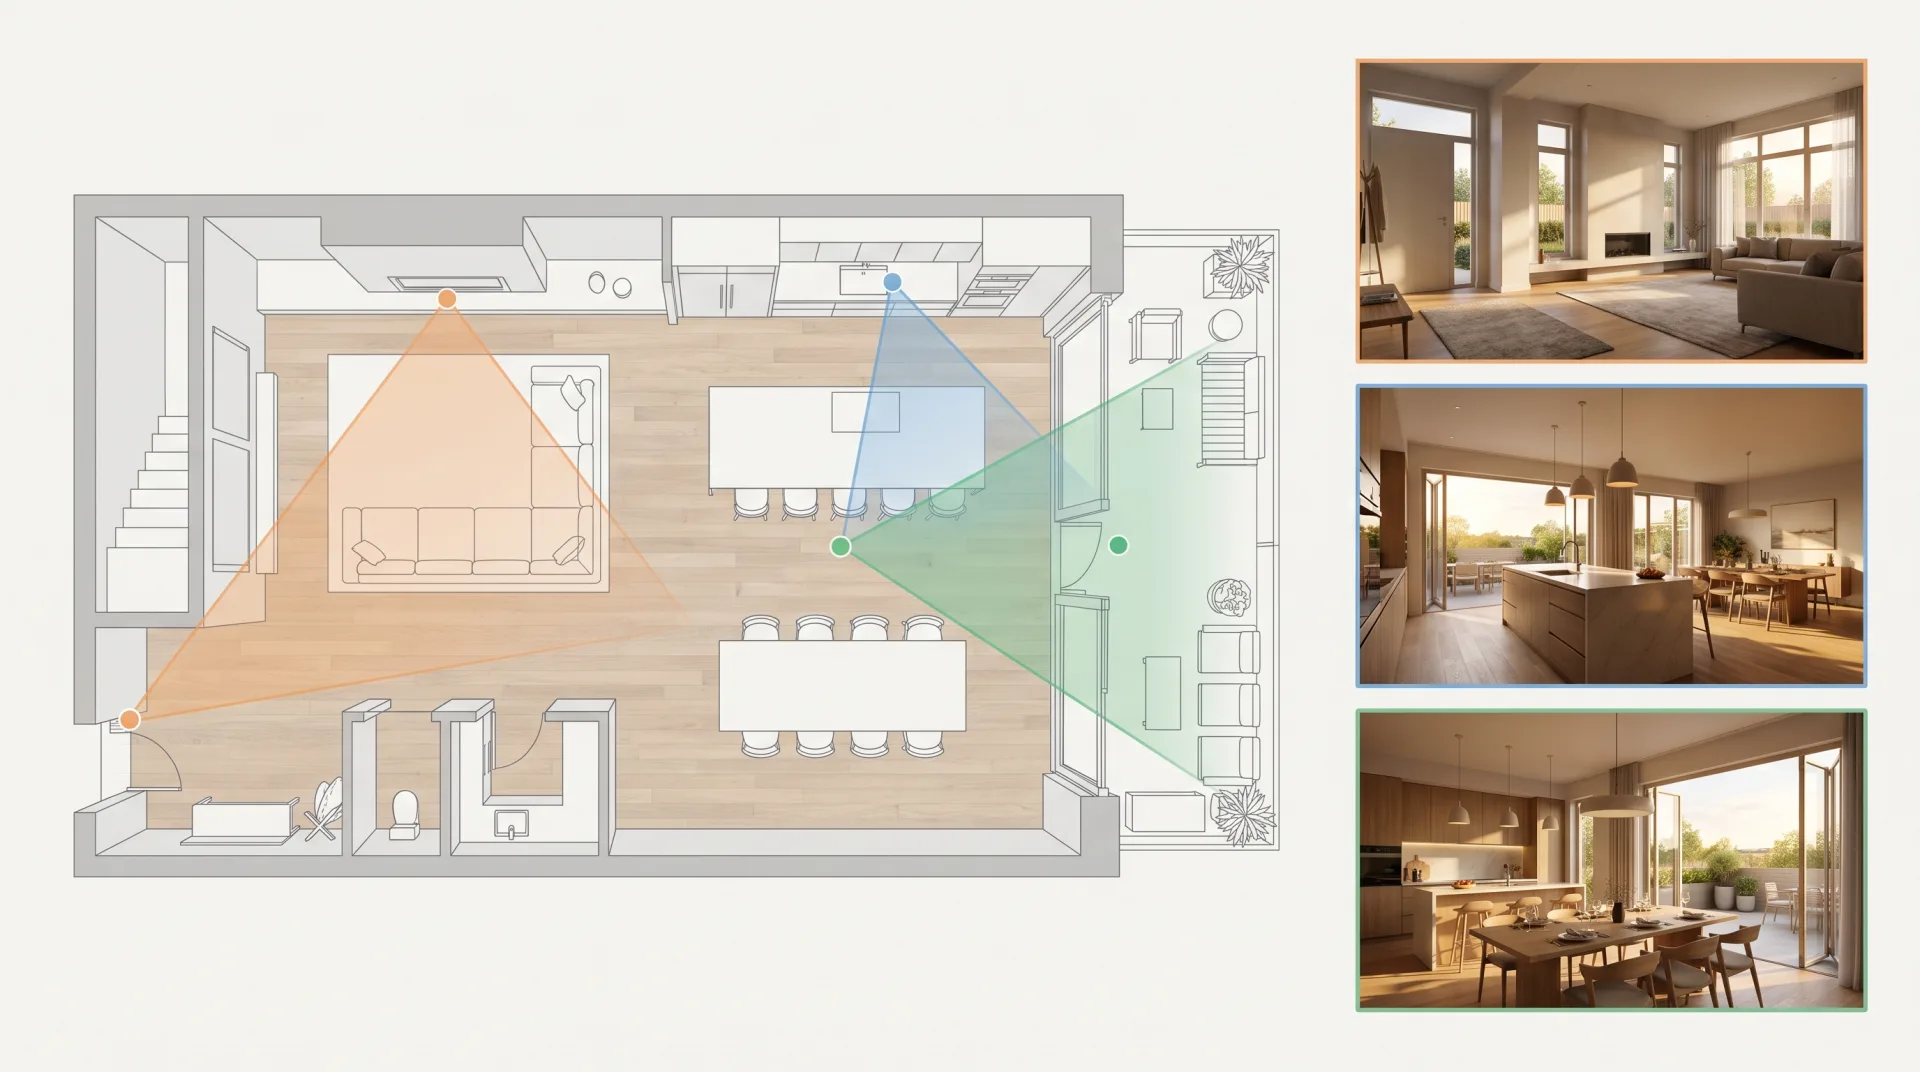
For each camera, write one line: where it stands, which way it looks, and the one thing it must show ("from the front door, looking at the fireplace wall, must show the double-height ceiling"). Eye height, corner views and two-point perspective each suit different rooms, and our page on camera angles shows which views work for interiors and exteriors.
Lighting, time of day and mood
Name the time of day, season and weather, and attach one reference image for mood. Light changes a rendering more than any material, and it is the hardest thing to describe in words, so one photo you like does more than a paragraph.
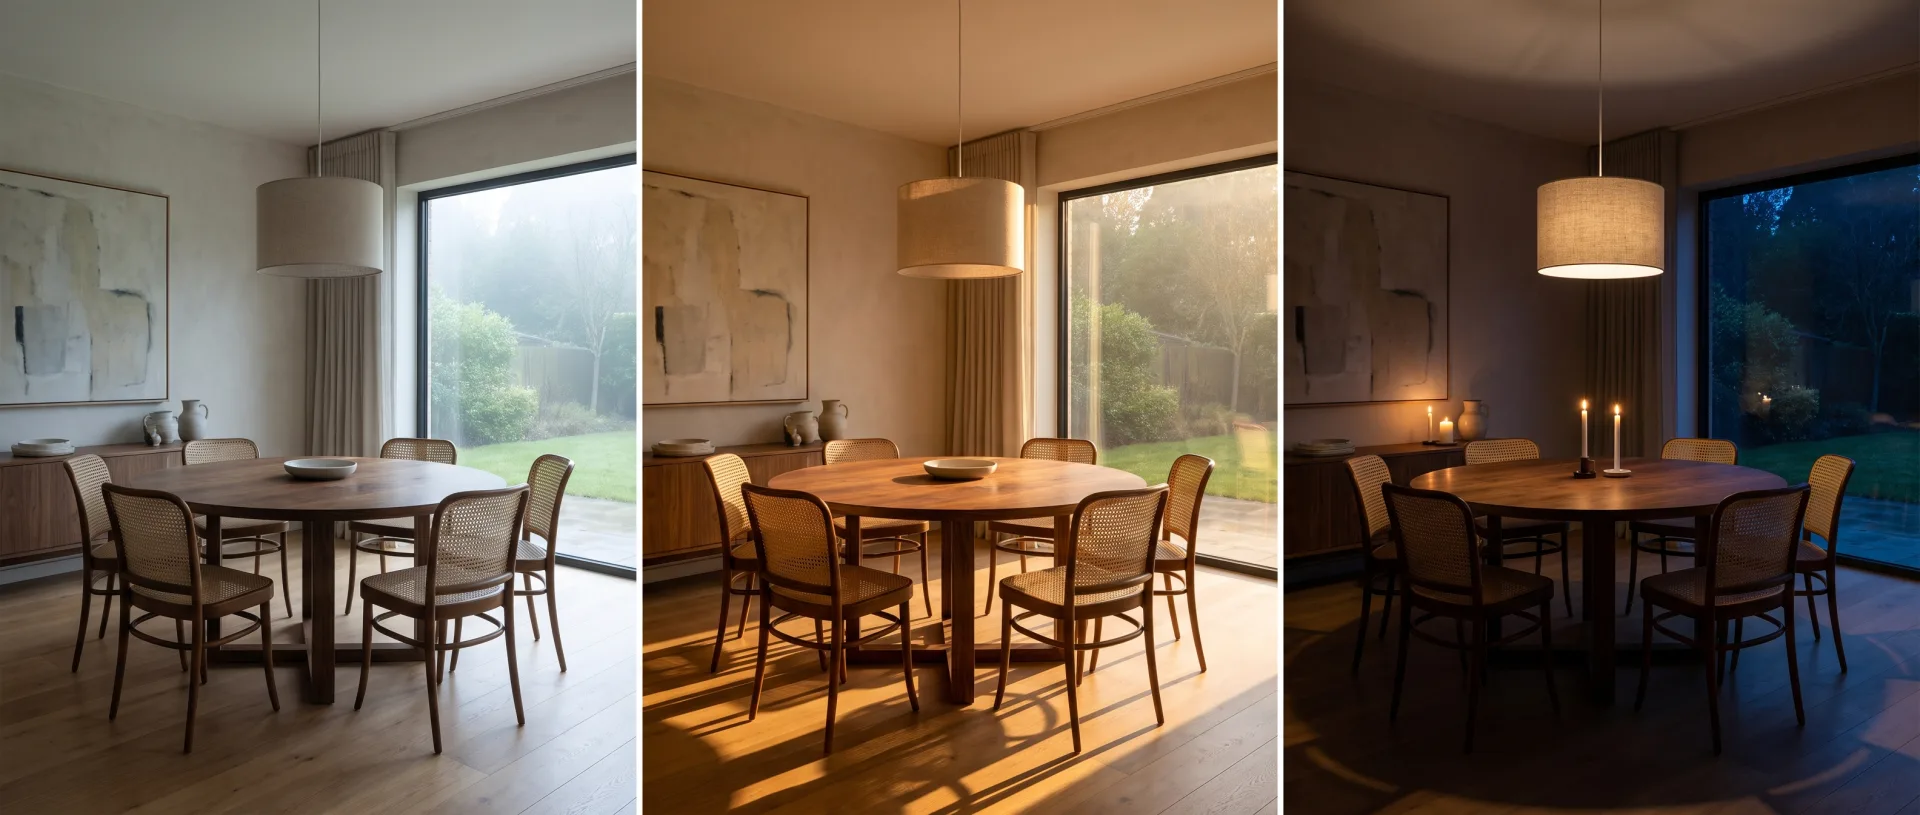
If the building's orientation matters, mark north on the plan; a south-facing living room in winter sun and the same room on an overcast afternoon are different images. For dusk and night views, say which lights are on.
Output sizes and formats
Give the pixel size or print size, aspect ratio and file format for every image. An image framed for a wide website banner cannot be cropped to a tall brochure page without losing what the camera was set up to show, so the shape is decided before rendering.
| Use | Aspect ratio | Size and format |
|---|---|---|
| Website hero and presentation slides | 16:9 landscape | 4K JPG or PNG |
| Brochure or print board | Set by the page or board | Give the print size; layered PSD on request |
| Social feed | Portrait or square, as the platform shows it | JPG |
| Animation | 16:9 | 1080p or 4K MP4 |
Our stills are delivered in 4K as JPG and PNG, with a layered PSD on request. Our guide to web and print resolution gives the pixel sizes for each use, and the page on aspect ratio explains how to choose the shape for where the image will be used.
Schedule and review rounds
Give the final deadline, who approves, and how many review rounds you expect. Name one person who approves each draft; comments from three people who disagree are the most common cause of a late final.
Count back from the date you need the finals. With us, a fixed quote arrives within 12 hours of receiving the files, a first draft of stills in 3 to 5 business days, and two revision rounds are included; the delivery date of the finals is fixed in the quote. Animation drafts take 2 to 3 weeks. If the date is close, say so in the brief: delivery in 48 hours is available, subject to capacity. Rates for rush delivery and extra rounds are listed beside each 3D rendering price on our pricing page.
Download the 3D rendering brief template
The template has one field for each item above and is the brief we quote from, so a filled-in brief is ready to order. Download the 3D rendering brief template (Word, DOCX), or copy the table below into a document or an email. Fill in each field and paste it into the "What should we render?" box of our quote form; the form asks for your files and contact details on the next step.
| Field | What to write |
|---|---|
| 1. Project summary | What it is, where, and its size |
| 2. Purpose and audience | Who sees the images, and what they must decide |
| 3. Files | List of plans, elevations, sections or model files, with formats |
| 4. Materials and finishes | Each surface: product name or code, finish, and a swatch or photo |
| 5. Camera views | Number of views; each marked on a plan with one line on what it must show |
| 6. Lighting and mood | Time of day, season, weather, lights on or off, one reference image |
| 7. Output | For each image: use, aspect ratio, pixel or print size, format |
| 8. Schedule | Final deadline, who approves, review rounds expected |
Studios that receive all eight fields can quote without a call. Send the filled-in template to us; we are one of the US 3D rendering studios that reply with a fixed quote within 12 hours.
Product rendering briefs: what changes
A product brief adds the CAD or sample, exact color references, background and the marketplace image specs. Products are judged at close range, so the brief has to fix what an architectural brief can leave to the studio.
- Send the CAD or a sample. A STEP or OBJ file gives exact geometry; without one, send the physical product or photos from every side with measurements.
- Give exact color references. Name the color system code for each part, and send a physical swatch where the color is critical.
- Describe the material of each part. Brushed or polished metal, matte or gloss plastic, the fabric and its weave.
- Choose the background. Pure white for marketplaces and catalogs, or a styled scene for lifestyle images.
- List the image specs. Pixel size, aspect ratio and how much of the frame the product must fill, as each marketplace requires.
- List the angles and variants. Front, three-quarter, back, detail shots, and every colorway.
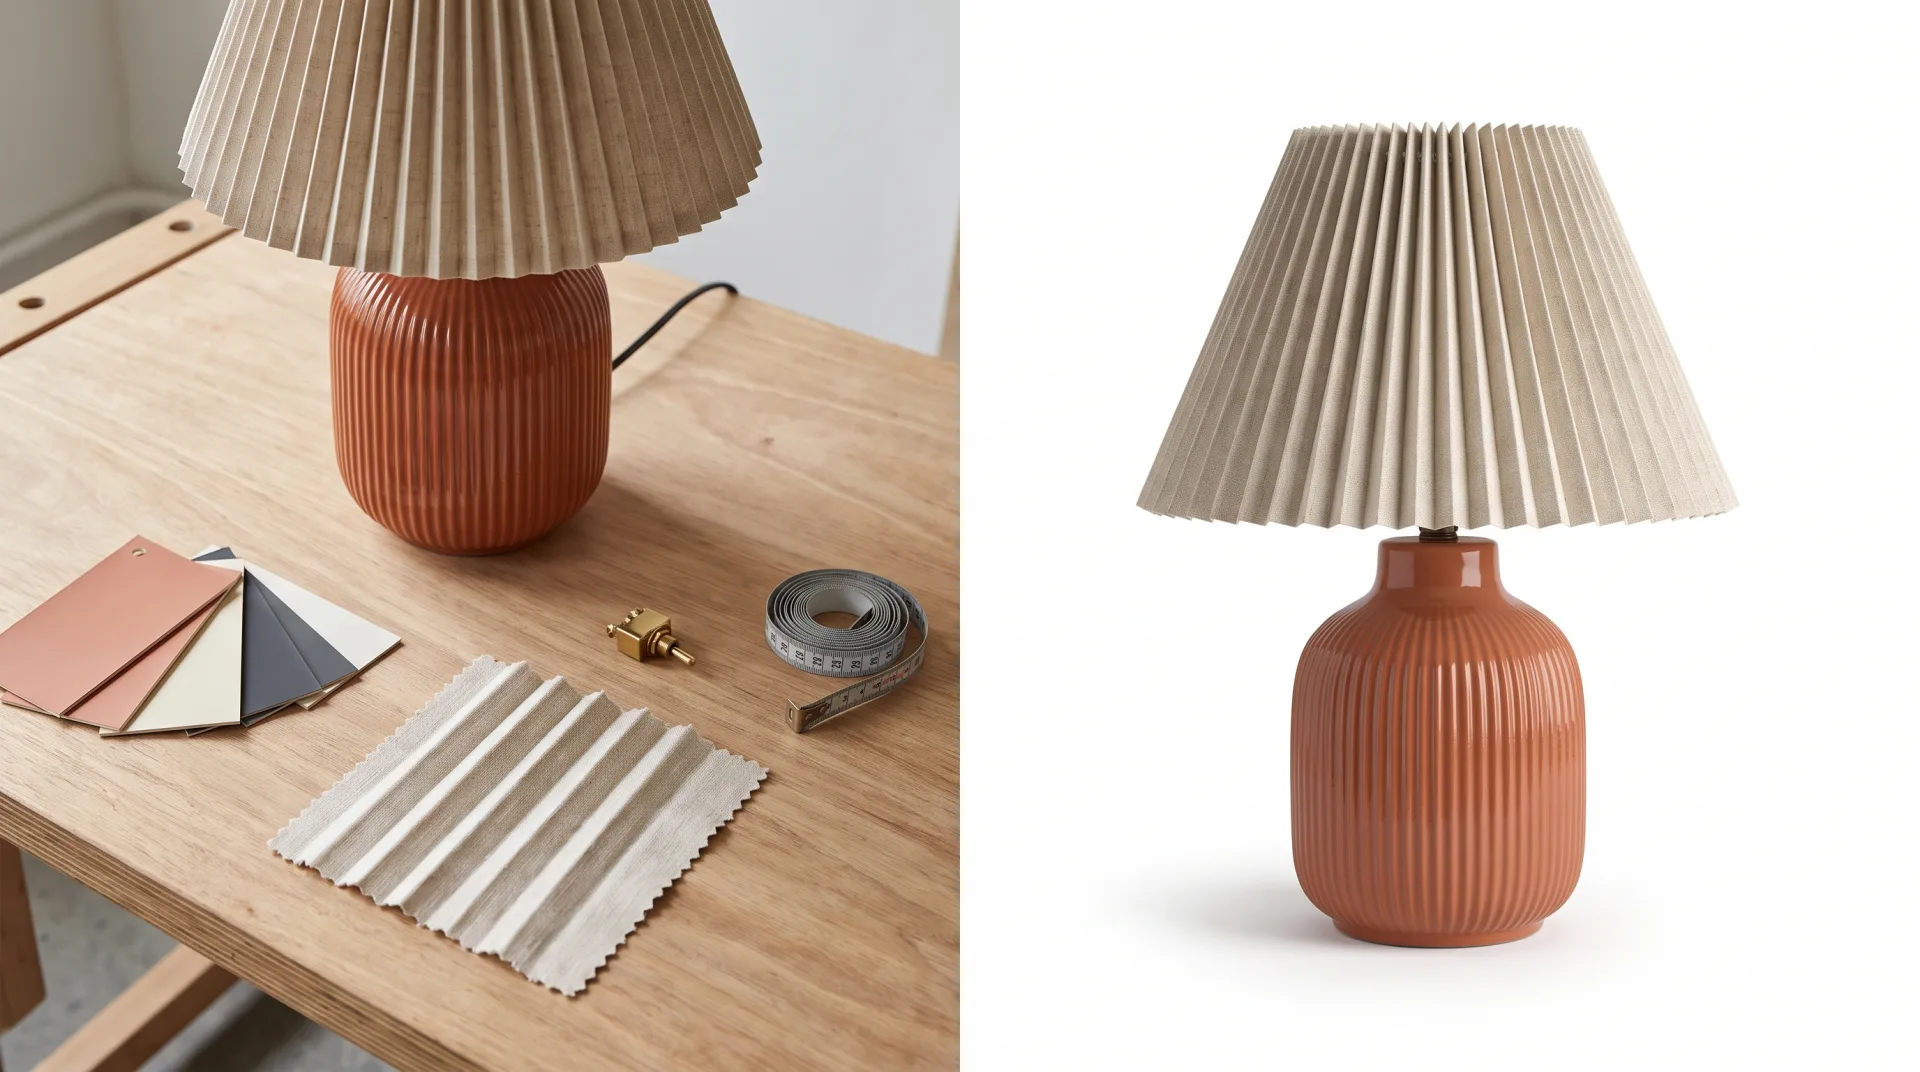
Our 3D product visualization service uses this extended brief for white-background images, lifestyle scenes and 360 spins.